When to use Groups?
- When you have several classes and you want to filter your activities and gradebook so you only see one class at a time.
- When you are sharing a module with other lecturers and you want to filter your activities and gradebook so you don't see the students from your colleagues’ classes.
- You want to allocate a particular activity, resource or topic section to just one class or set of users and you don't want others to see it.
Creating a group
Step 1 : Go into the module where you want to create group.
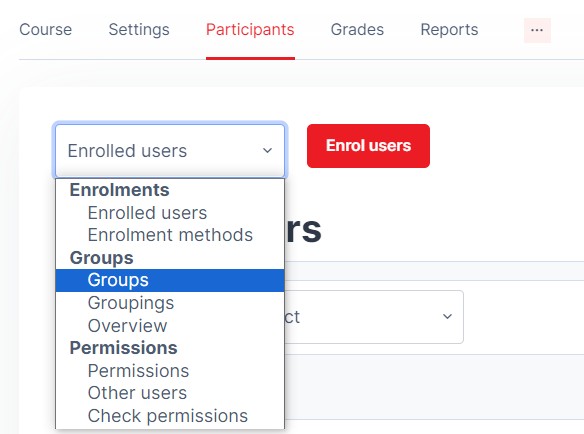
Step 2 : At the tab navigation, click on Participants.

Step 3 : Select Groups from the drop-down list.
Step 4 : Click the Create group button.
Step 5 : Add a group name and optional description and click Save changes button.
Step 6 : The new group will be created. Select the new group and click Add/Remove users button.

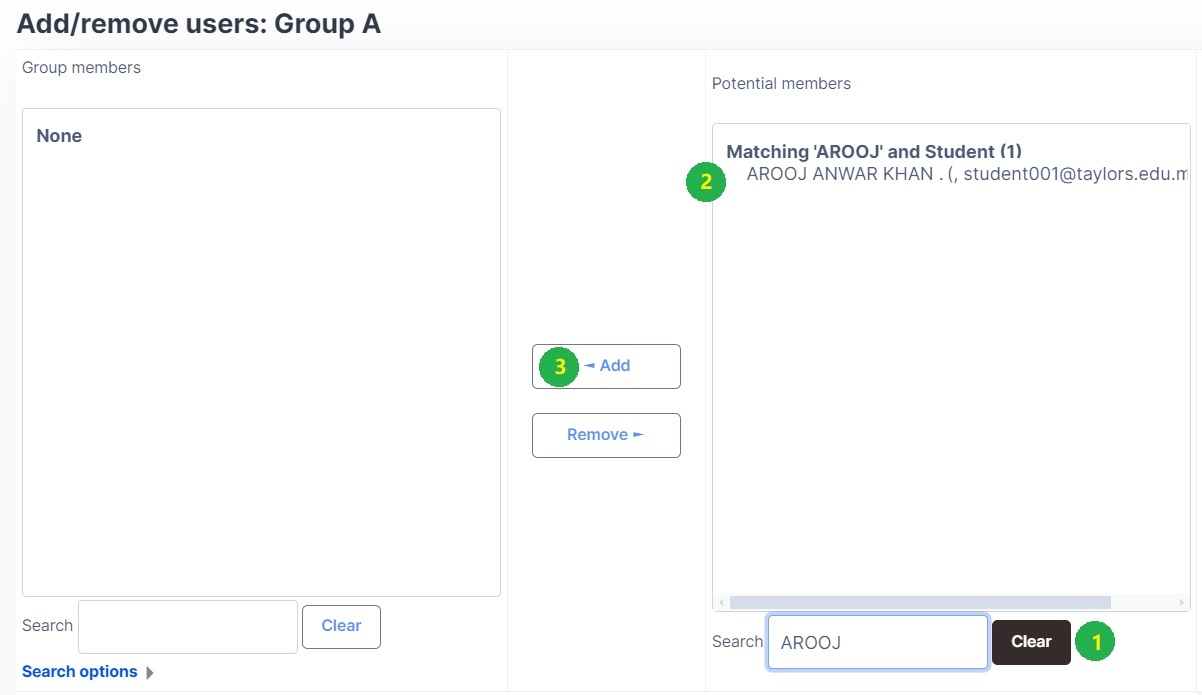
Step 7 : Search for the Potential members (Student), Select the student and then click Add.
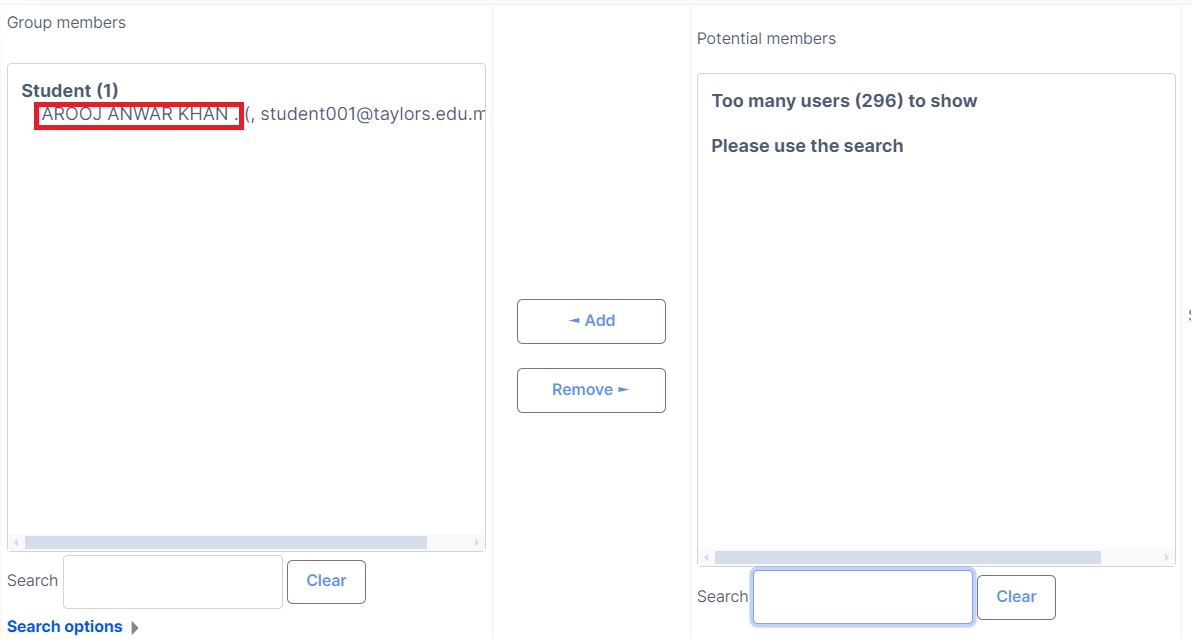
Step 8 : The student now will be added to the respective group.
Step 9 : Repeat the above process until all groups are created and populated with members.
How to enable Separate group mode in a Module?
By default the group mode is turn off in the module. Please follow the steps below to enable it.
Step 1 : At the tab navigation, click on Settings
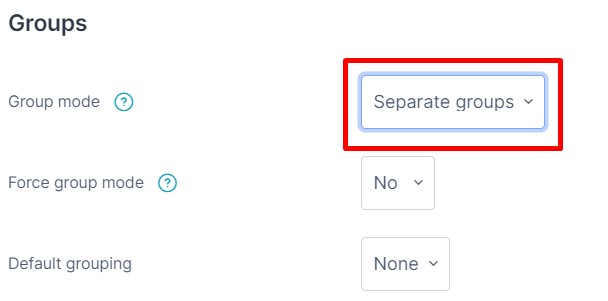
Step 2 : Scroll down to Groups, select Separate groups from the drop-down list.
Step 3 : Click Save and Display.
How to enable Separate group mode in an Activity?
If you have enabled the Separate Groups mode at the module level before creating the activity, the group filter feature will be automatically enabled at the activity level. However, if you haven't but have already created the activity, then you need to update the activity settings to enable the Separate Groups mode with the steps below.
Step 1 : Go to the Activity settings
Step 2 : Scroll down to Common module settings, select Separate groups from the drop-down list.
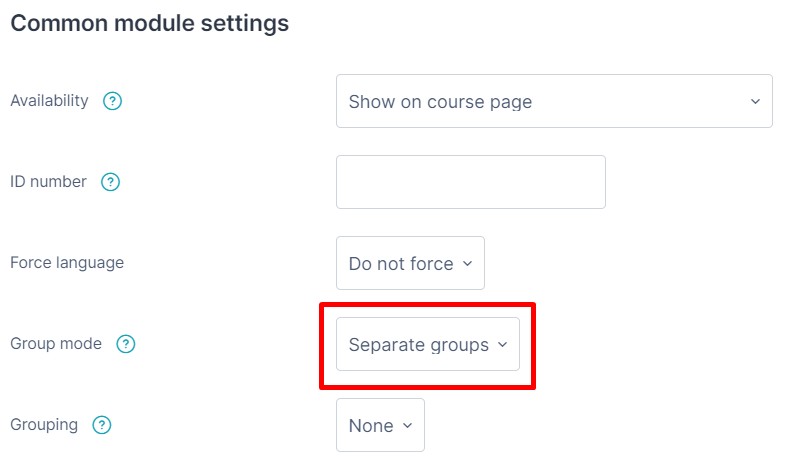
Step 3 : Click Save and Display and the Separate groups drop-down list will show on top of the activity.
How to use restrict access (group)
Please refer to here.
What is a grouping?
A grouping is a collection of groups within a module. Using groupings allows you to direct tasks at one or more groups in your module, so that they can work together on the tasks.
Grouping example
You wish the students to work on a project, exploring passive and active language. You create a grouping Passive Language and assign the Listening and Reading groups to this grouping. You create a grouping Active Language and assign the Speaking and Writing groups to this grouping.
Creating a grouping
Step 1 : Go into the module where you want to create grouping.
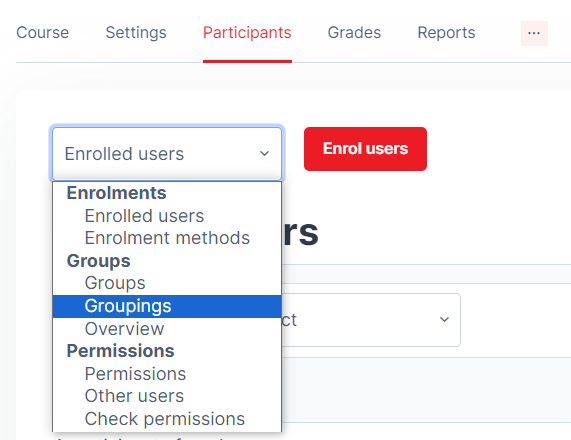
Step 2 : At the tab navigation, click on Participants.
Step 3 : Select Groupings from the drop-down list.
Step 4 : Click the Create grouping button.
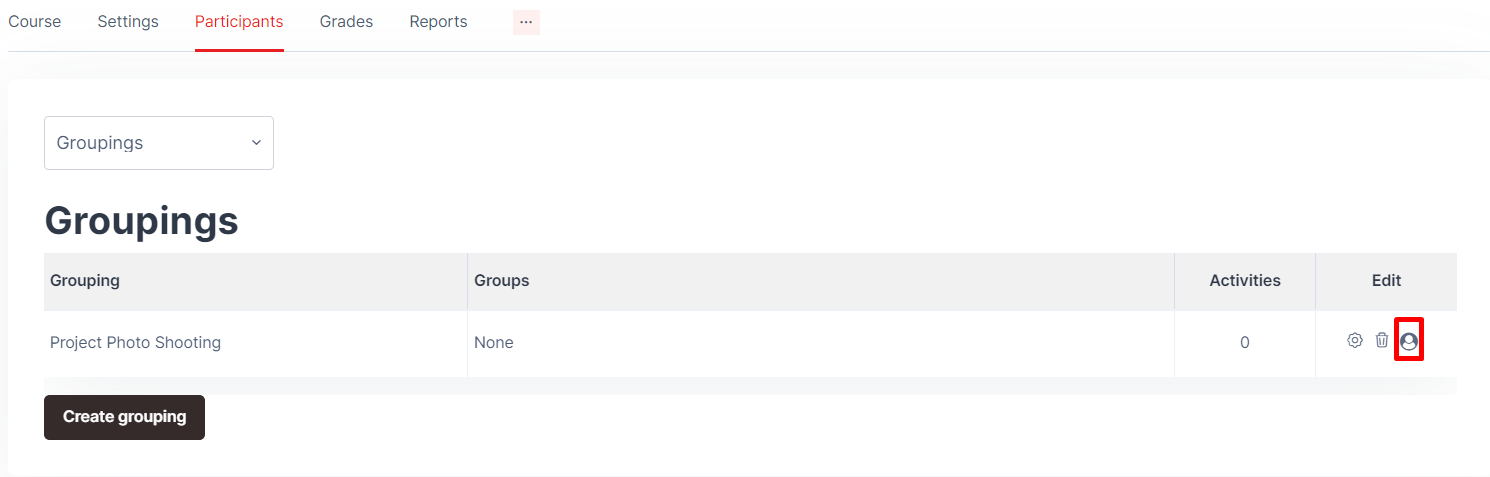
Step 5 : Add a grouping name and optional description and click Save changes button.
Step 6 : The new grouping will be created. Click on the ![]() icon to add groups.
icon to add groups.
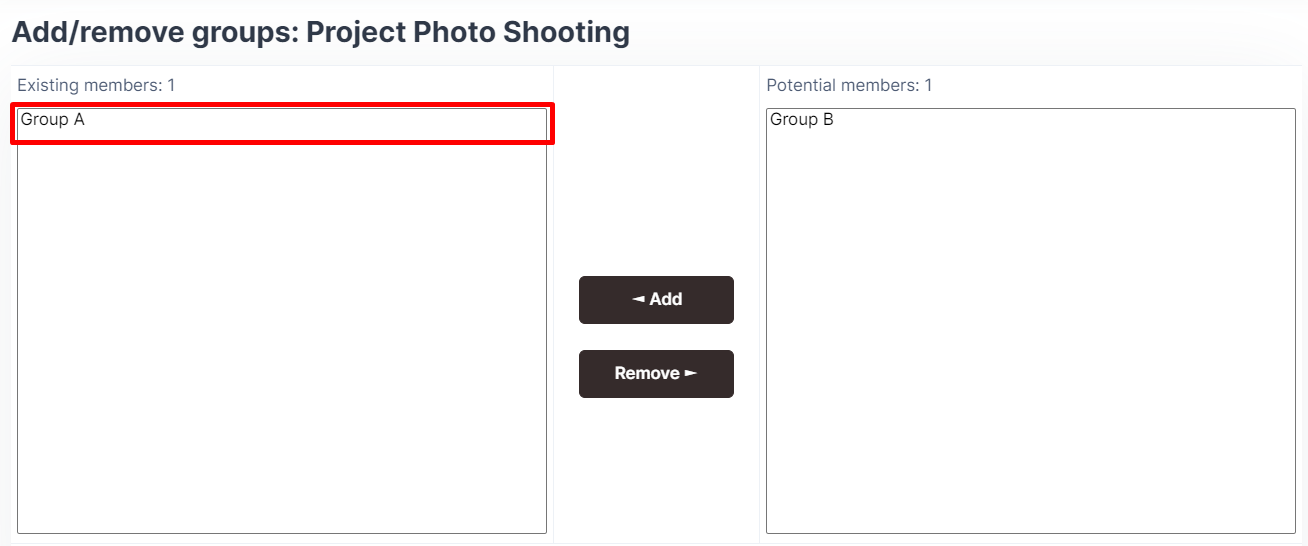
Step 7 : Select the group(s) next under the Potential members and then click Add.
Note: Press CTRL together when you want to select more the one group at the same time.

Step 8 : The group now will be added to the respective grouping.