
Step 1: Log in to TIMeS and access the course you wish to perform the backup.
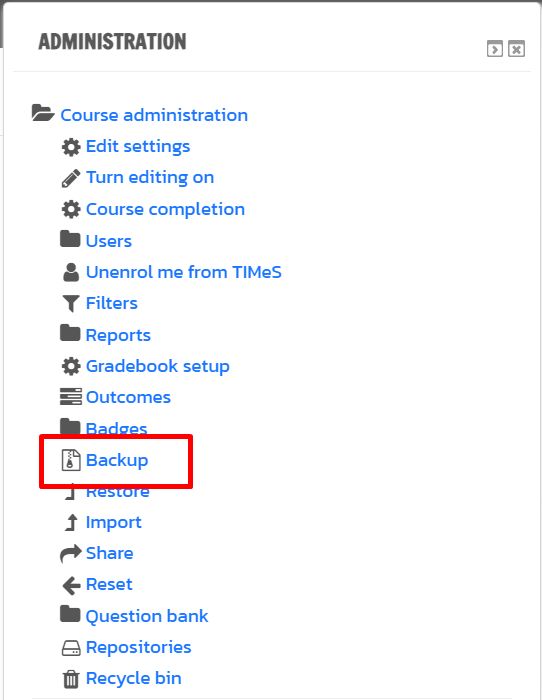
Step 2: In the Administration > Course administration, click on Backup.
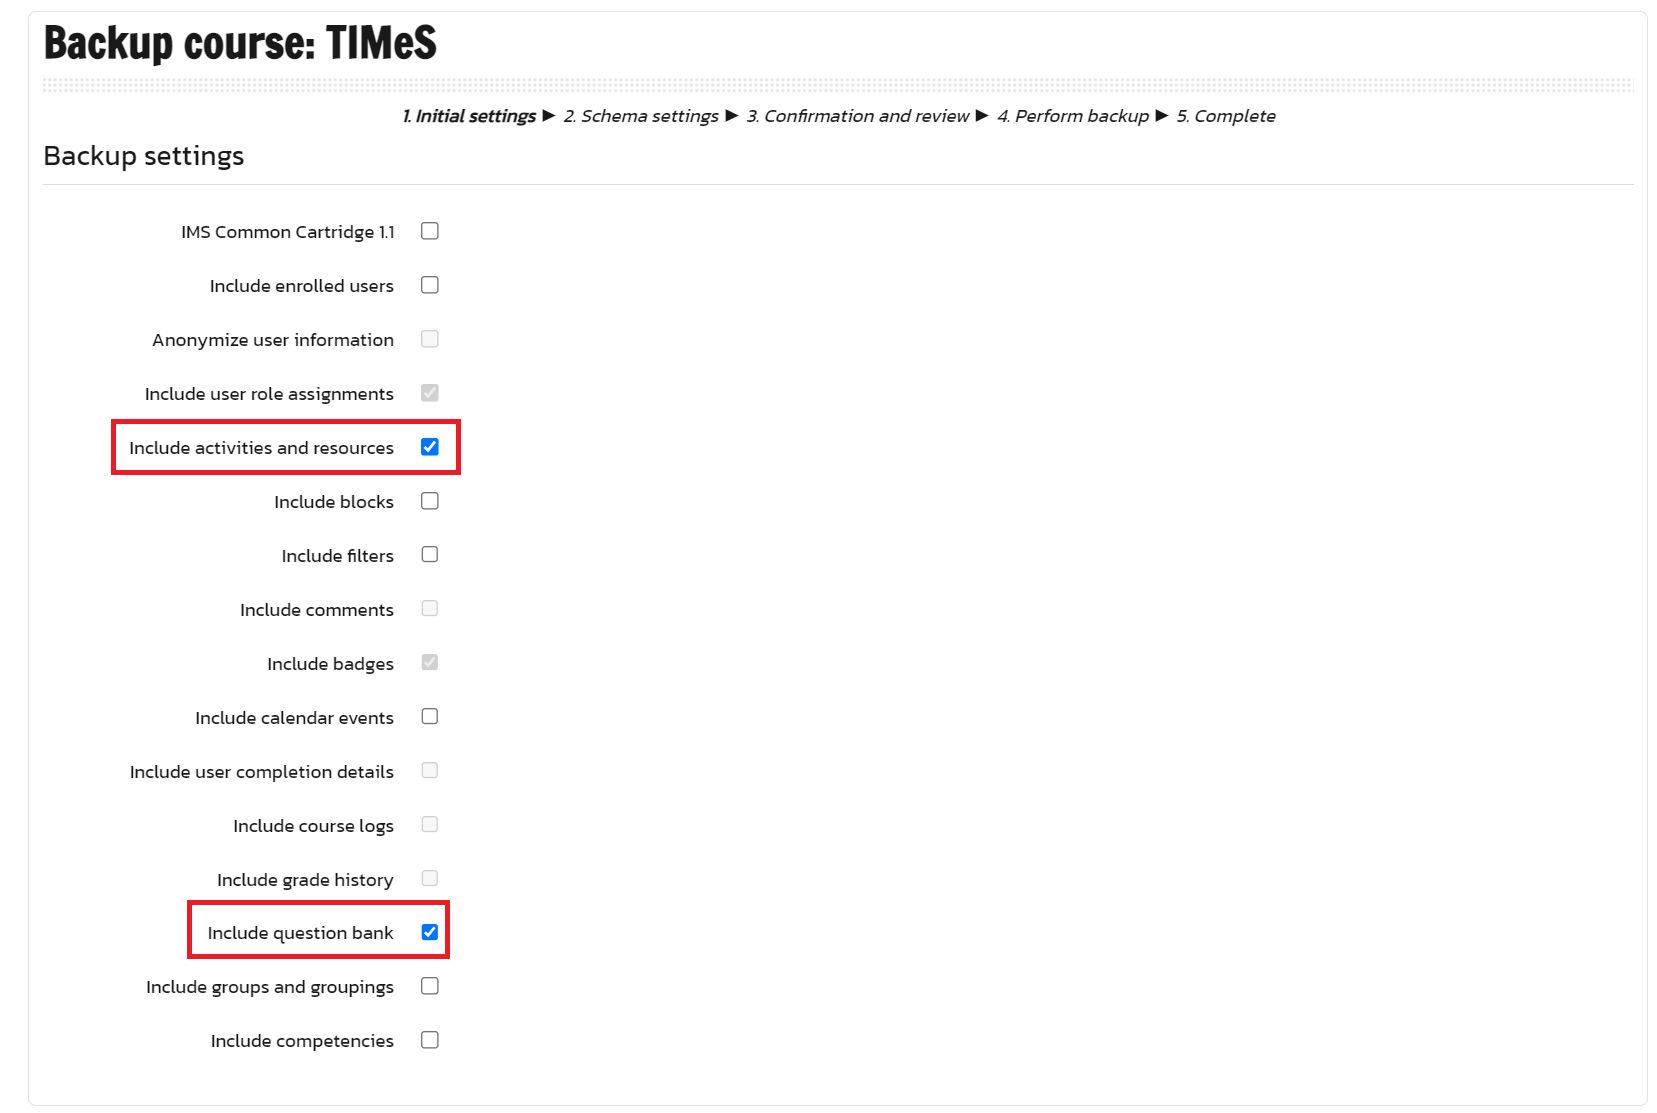
Step 3: The entire backup process is divided into 5 sub-steps. On the Initial settings page, please select the following options, then click Next.
- Include activities and resources
-
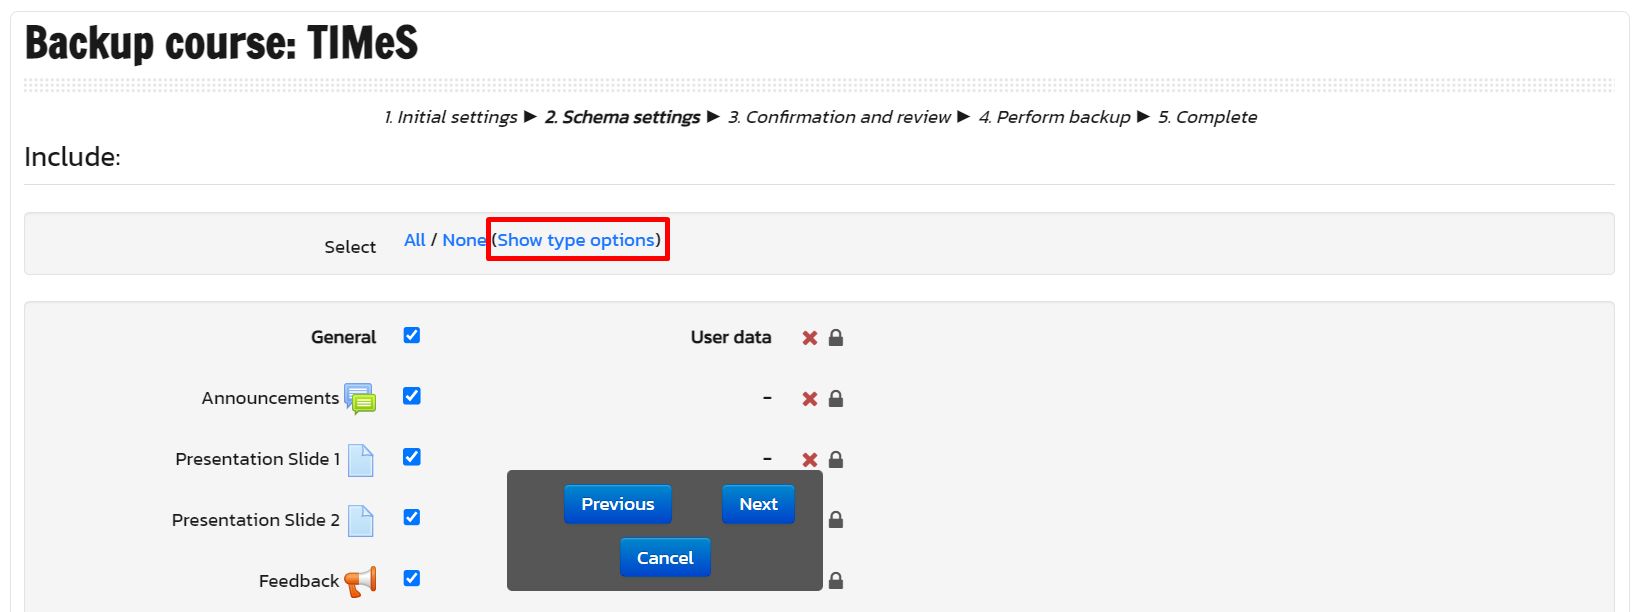
Step 4: Under the Schema settings page, click Show type options.
Step 5: Find and click None for the following type options to exclude in the backup. These type options are not supported by the course restore in myTIMeS.
- aculearn
-
Interactive Content
-
Turnitin Assignments
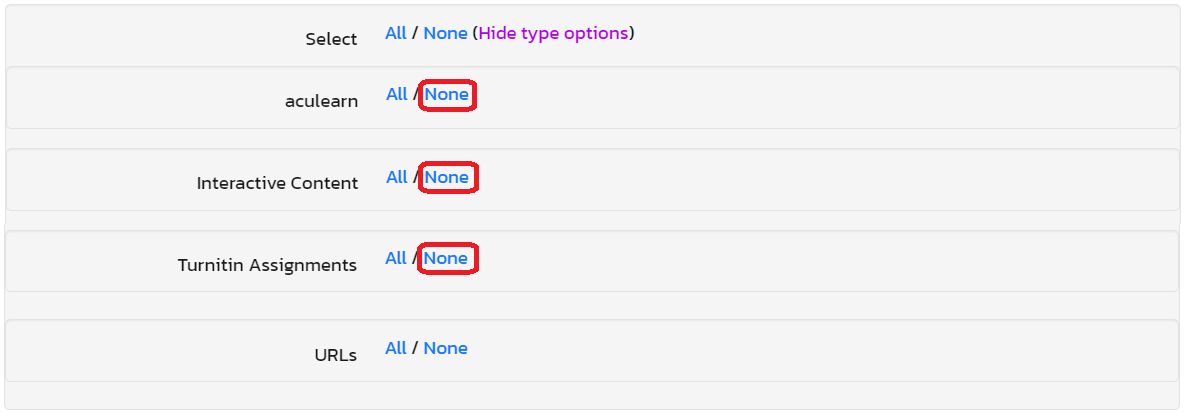
After checking the type options, you may click Hide type options and proceed to choose the content to be included in the backup file, then click Next.
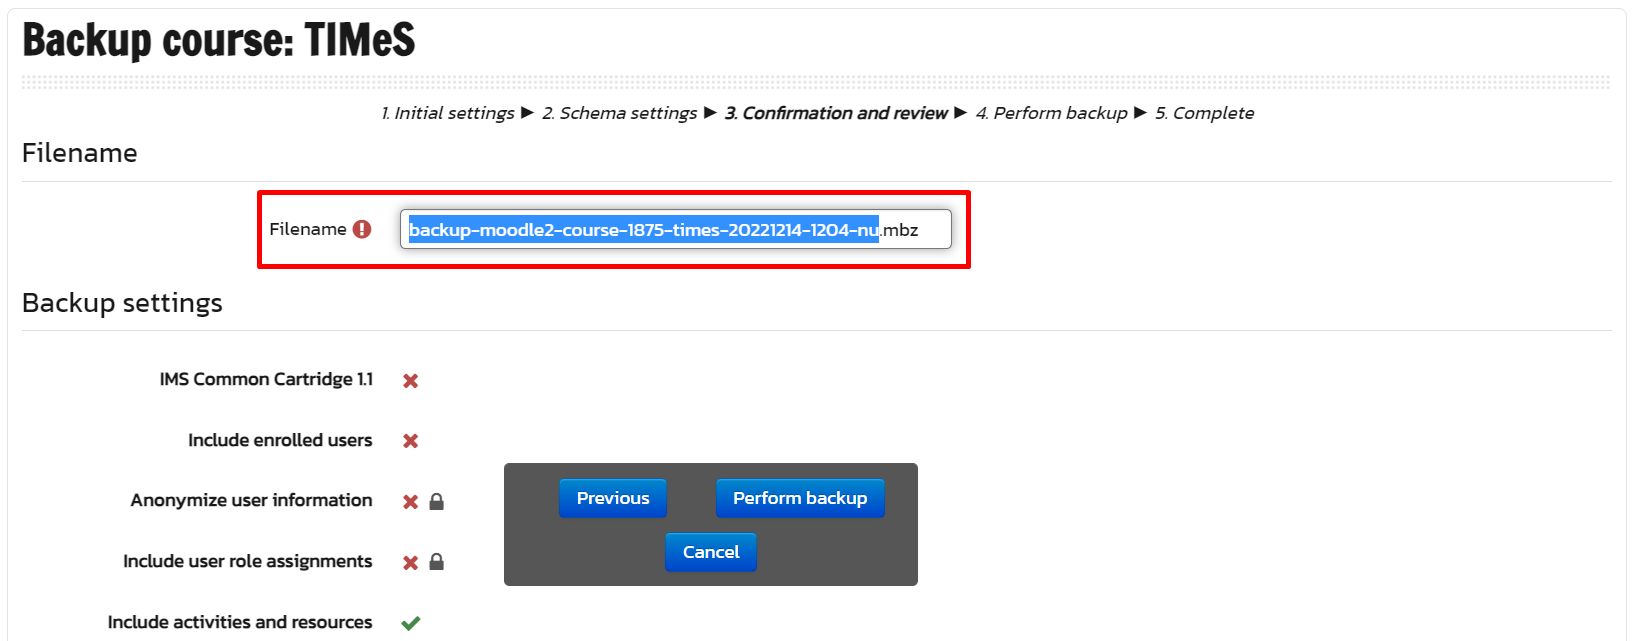
Step 6: On the Confirmation and Review page, review the backup settings. You can provide a different filename for the backup file by filling in the filename field. Once everything is confirmed, click on Perform backup.
Step 7: The backup process will begins. Once completed, a confirmation message will be displayed "The backup file was successfully created".

Step 8: The backup file will be placed under the user's private backup area. Click on Download to download the file to your computer.
