
Books allow lecturers to create multi-page resources with a book-like format and table of contents. Multimedia may be embedded and books may be printed entirely or by chapter. It’s ideal for presenting lengthy content such as manuals, lecture notes, or readings.
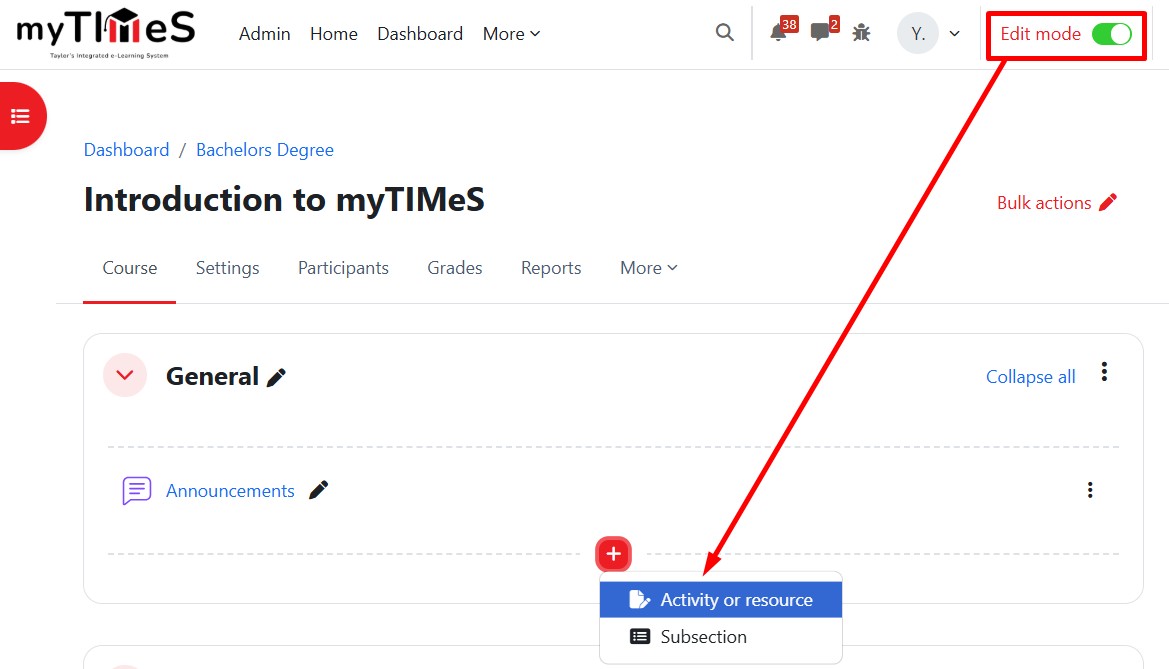
Step 1 : Toggle on the "Edit mode" at the top right of your module page.
Step 2 : Locate the Section where you want to add the Page.
Step 3 : At the bottom of the section, click the red "+" button, then select "Activity or resource".
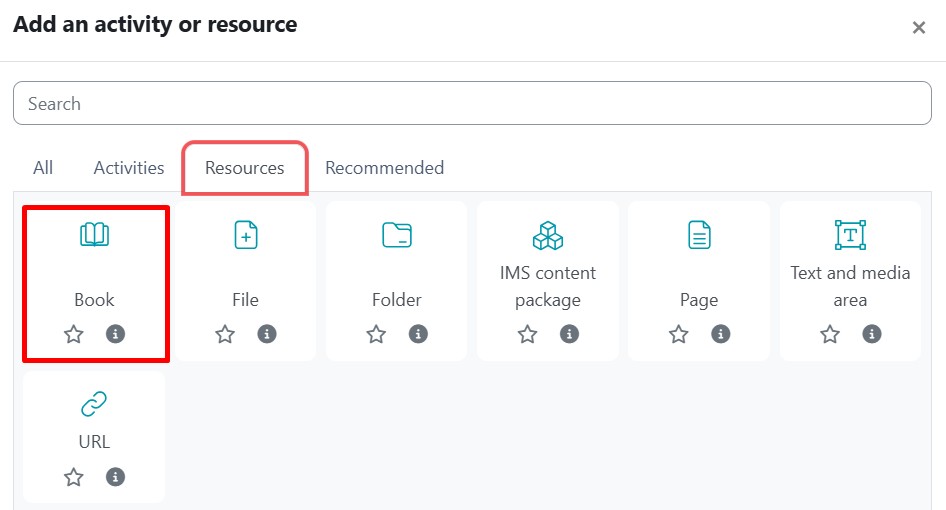
Step 4 : Go to the Resources tab and click the Book icon. The Adding a new Book page will open.
Step 5 : Enter the Book Name and, if required, a description, checking the box if you want the description displayed on the mode page.
Step 6 : Expand the Appearance section to specify your requirements, particularly the chapter formatting (Numbers, Bullet or Indented) and whether you want to use custom titles. Use the help icon for more information.
Step 7 : Click "Save and display" to create your new book and start adding content.
Step 8 : Add new Chapter. Enter a Chapter title (e.g., Introduction). In the Content area, type or paste your text, insert images, videos, or links as needed. Click "Save changes".
Step 9 : Once you add at least one chapter, the Table of Contents (TOC) will automatically appear on the right panel. Click the + icon to add another chapter, and repeat the process.
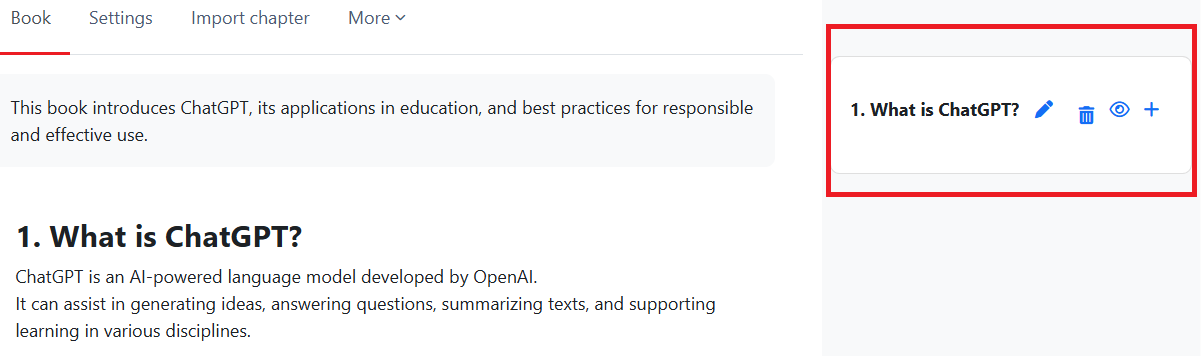
Note: In the Table of Contents panel, you can manage your chapters using the icons next to each title:
- ➕ (plus icon) – Add a new subchapter under the selected chapter.
-
↑ / ↓ arrows – Move the chapter up or down to reorder.
-
✏️ (pencil icon) – Edit or update the chapter content.
-
👁️ (eye icon) – Show or hide the chapter from students.
-
🗑️ (trash bin icon) – Delete the chapter.
Reference: For more details, visit the Moodle documentation HERE.